
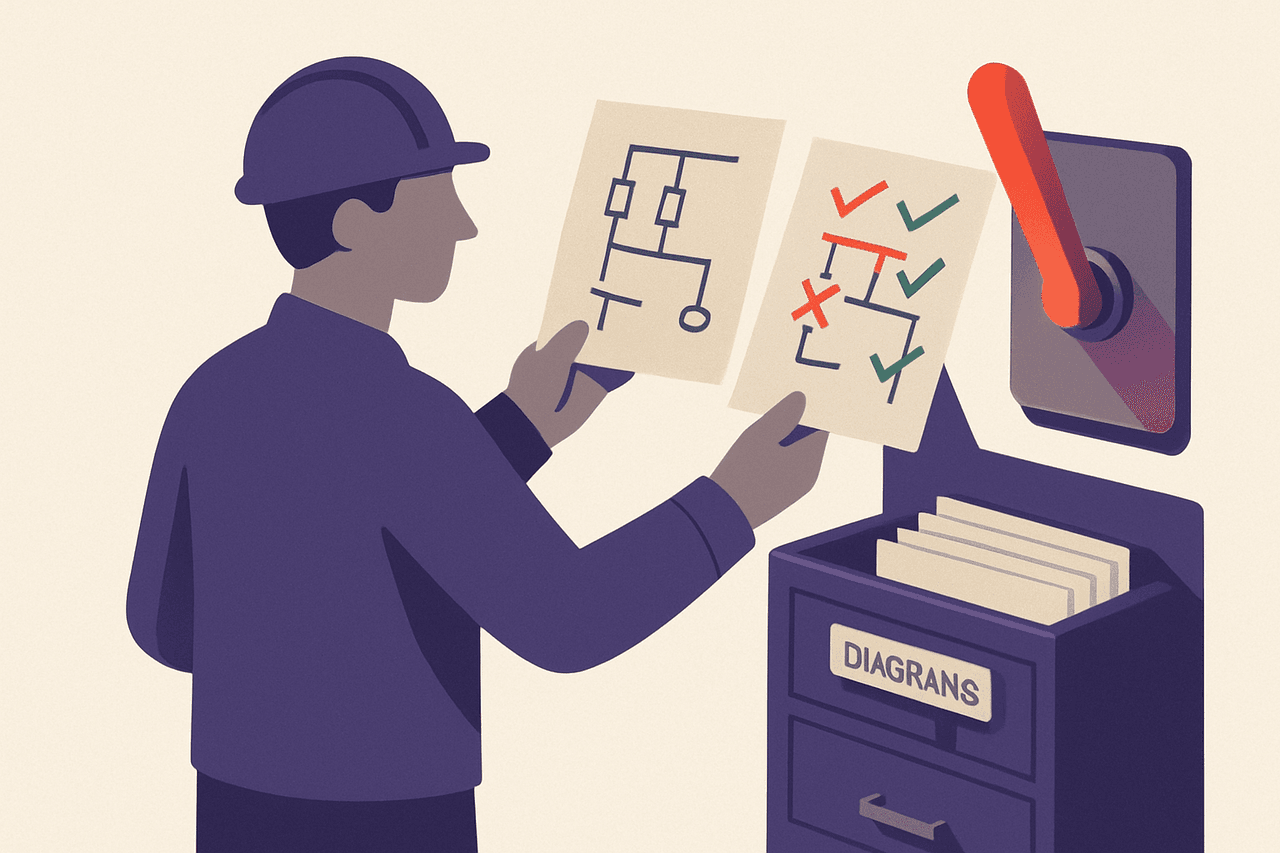
Commit, Revert, and Audit Configuration Changes on Palo Alto
Before you run this
This guide covers the everyday change-control workflow on a Palo Alto firewall: staging a change in the candidate configuration, previewing exactly what will change, committing it to the running configuration, reverting an uncommitted change, rolling back to a previous committed version, and using Config Audit to diff two versions. None of this is a script you paste in blind — it is the vendor's own commit model, driven from the web UI and the CLI.
You need an admin account with commit rights — a superuser role, or a custom admin role that permits configuration changes and commits. A read-only admin can view and audit but not commit.
A commit on a firewall is the moment a wrong rule, NAT, route, or interface change takes effect on production traffic and on your own management session. Treat it accordingly:
- Keep a separate out-of-band path open — the console port (or a dedicated management interface you are not about to touch). If a commit cuts you off over the data path, you want a way back in.
- Back up the running config off-box before you change anything. In the web UI: Device > Setup > Operations > Export named configuration snapshot, choose
running-config.xml, and download it. That XML is your parachute. - Make the change in a maintenance window, and preview it before you commit.
- PAN-OS has no timed "commit-confirmed" auto-rollback like some other platforms. Your rollback paths are, in order of blast radius: Revert to running configuration (throws away uncommitted candidate changes), and Load configuration version followed by a commit (rolls back a change you already committed). Both are described below.
Try this whole flow first on a lab firewall or a VM-Series instance with a throwaway object (a dummy address group, say) so the muscle memory is there before you do it on the box that matters.
What I'm assuming
- PAN-OS 11.1 on a standalone PA-series or VM-Series firewall, not managed by Panorama. (Under Panorama the commit model gains push/template layers; the local candidate/running concepts still apply but the menus differ.)
- You reach it over HTTPS (web UI) and SSH (CLI).
Menu paths and CLI keywords move between PAN-OS versions, so if a path below doesn't match your box, check the PAN-OS Web Interface Help and PAN-OS CLI Quick Start for your exact version rather than guessing.
The model in one paragraph
Every change you make lands in the candidate configuration. It does nothing to traffic until you commit, which validates the candidate and promotes it to the running configuration. Each successful commit also snapshots the previous running config as a numbered version, which is what makes rollback possible.
Take a config lock first
On a firewall with more than one admin, grab a lock so nobody commits half of someone else's work on top of yours.
In the web UI, click the lock icon at the top-right of the header and add a Config Lock (blocks others from editing) or a Commit Lock (blocks others from committing until you release it). Release it from the same icon when you're done.
The CLI has equivalent request config-lock / request commit-lock operational commands; confirm the exact syntax in the CLI reference for your version before scripting them.
Make a change and preview it
Make your edit in the web UI as normal (Policies, Objects, Network, etc.), or from the CLI in configuration mode:
configure
# ... make your change, e.g. edit an address object ...
Before committing, look at exactly what changed. In the web UI, click Commit (top-right), then Preview Changes in the dialog. Pick the number of context lines and you get a side-by-side diff of candidate vs running, with additions and removals colour-coded. Read it. This is the single most useful habit on this platform.
You can also validate without committing — the commit dialog has a Validate Commit option that runs the commit checks (dependency and syntax validation) without applying anything.
From the CLI you can inspect the staged config directly:
show config candidate    # what you're about to commit
show config running      # what's live right now
Commit
Web UI: Commit > Commit All Changes (or Commit Changes Made By to commit only your own admin's changes — a partial commit). Watch the job complete and confirm it succeeds.
CLI, from configuration mode:
commit
Wait for it to report success. If validation fails, the candidate is untouched and nothing goes live — fix the reported error and commit again.
Revert an uncommitted change
You've staged something and thought better of it before committing. Nothing is live yet — just throw the candidate away.
Web UI: Device > Setup > Operations > Configuration Management > Revert to running configuration. This discards all uncommitted candidate changes and resets the candidate back to the running config.
CLI, from configuration mode:
revert config
This is the clean, cheap undo. Because nothing was committed, production traffic never saw it.
Roll back a change you already committed
You committed, and it's wrong. Roll back to the previous saved version.
- Device > Setup > Operations > Configuration Management > Load configuration version.
- Pick the version from before your bad change. Versions are timestamped and numbered, so identify the right one.
- This loads that version into the candidate. It is not live yet.
- Preview Changes again (Commit dialog) to confirm you're reversing exactly what you intended.
- Commit to make the rollback take effect.
Loading a version stages it as the candidate — the rollback is not real until you commit it. That extra step is deliberate; use it to double-check.
If you exported running-config.xml off-box earlier (you did, per the safety note), you can also Import named configuration snapshot, then Load named configuration snapshot, then commit — the same load-then-commit pattern from a file you control.
Save named snapshots
Numbered versions are automatic, but a named snapshot is easier to find later — take one before a big change.
Web UI: Device > Setup > Operations > Configuration Management > Save named configuration snapshot, and give it a meaningful name like pre-nat-rework-2025-06.
CLI, from configuration mode, saves the candidate to a named file:
save config to pre-nat-rework.xml
Audit what changed between two versions
Config Audit is the built-in diff tool — use it to prove what a change did, or to compare a candidate against running before committing.
- Device > Config Audit.
- In the two dropdowns, pick the versions to compare — for example the current Running config against a specific saved version number, or Candidate against Running.
- Set the number of context lines and click Go.
- You get a colour-coded, side-by-side diff. Read it top to bottom; it's the same diff engine behind Preview Changes.
This is your audit trail: which admin changed what, and when, expressed as concrete config lines rather than a vague log entry.
Verify it worked
- Job succeeded: the commit job in the web UI (or the CLI output) reports success with no validation errors.
- The change is actually live: confirm the running config, not just the candidate. CLI:
show config runningand check the relevant stanza. Web UI: the object no longer shows the "uncommitted change" highlight. - Traffic behaves: test the thing you changed — hit the policy, run traffic through the NAT, check Monitor > Traffic logs.
- Rollback verified: after a Load configuration version + commit, run Config Audit comparing the new running config against the version you rolled back to — they should match.
Undo, in summary
- Staged but not committed? Revert to running configuration (or
revert config). Instant, no impact. - Committed and wrong? Load the previous configuration version, preview, commit. Your off-box
running-config.xmlexport is the backstop if the on-box versions aren't enough.
Keep the console open until you've confirmed both the change and your management access survived the commit.
Runs enterprise networks and security for a living, and writes Shore Up to turn two decades of hands-on Linux, Windows and mail-server work into guides you can actually use.
More about the author →Was this article helpful?
Tap a star — no sign-in needed.
Be the first to rate this article.
Related guides

Configure AntiDDoS Protection on a Palo Alto Firewall
This guide configures two related Palo Alto features: a Zone Protection profile (broad, per-zone flood defence applied at the edge, before a session is even created) and a DoS Protection profile + policy rule (granular defence for specific servers). Their whole job is to drop traffic once a rate threshold is crossed. That is the point — and also the danger. Set a Max Rate too low and you will drop legitimate production traffic; enable a block action and you will hold that drop for the block duration.

Synchronized Logging Across a Palo Alto HA Pair
This guide configures both members of a PAN-OS active/passive HA pair to forward their logs to a shared collector — an external syslog server (or Panorama) — so that no matter which unit is active, and no matter which one just failed over, you end up with one continuous log record. Be clear about what this is not : PAN-OS does not replicate the local log databases between HA peers. The active unit sees the traffic and writes traffic logs; the passive unit does not pass traffic and so has no traffic logs of its own. "Synchronized logging" here means both units point at the same external destination , and because HA config sync copies the running config to the peer, you configure it once on the active unit and the passive inherits it.
Configure App-ID and URL Filtering on a Palo Alto Firewall
This guide walks through building a URL Filtering security profile and adding App-ID application matching to a security policy rule on a standalone Palo Alto firewall, then attaching the profile to that rule so web traffic is classified by category and applications are matched by App-ID rather than by port. The purpose is to move from port-based rules toward application- and category-aware enforcement.
Back Up, Export, and Restore a Palo Alto Configuration
This guide covers three related tasks on a Palo Alto firewall: exporting a copy of the configuration off the box (a backup — completely safe, read-only), saving named snapshots on the box , and loading and committing a configuration (a restore — this changes the running config and can lock you out or drop production traffic ).