
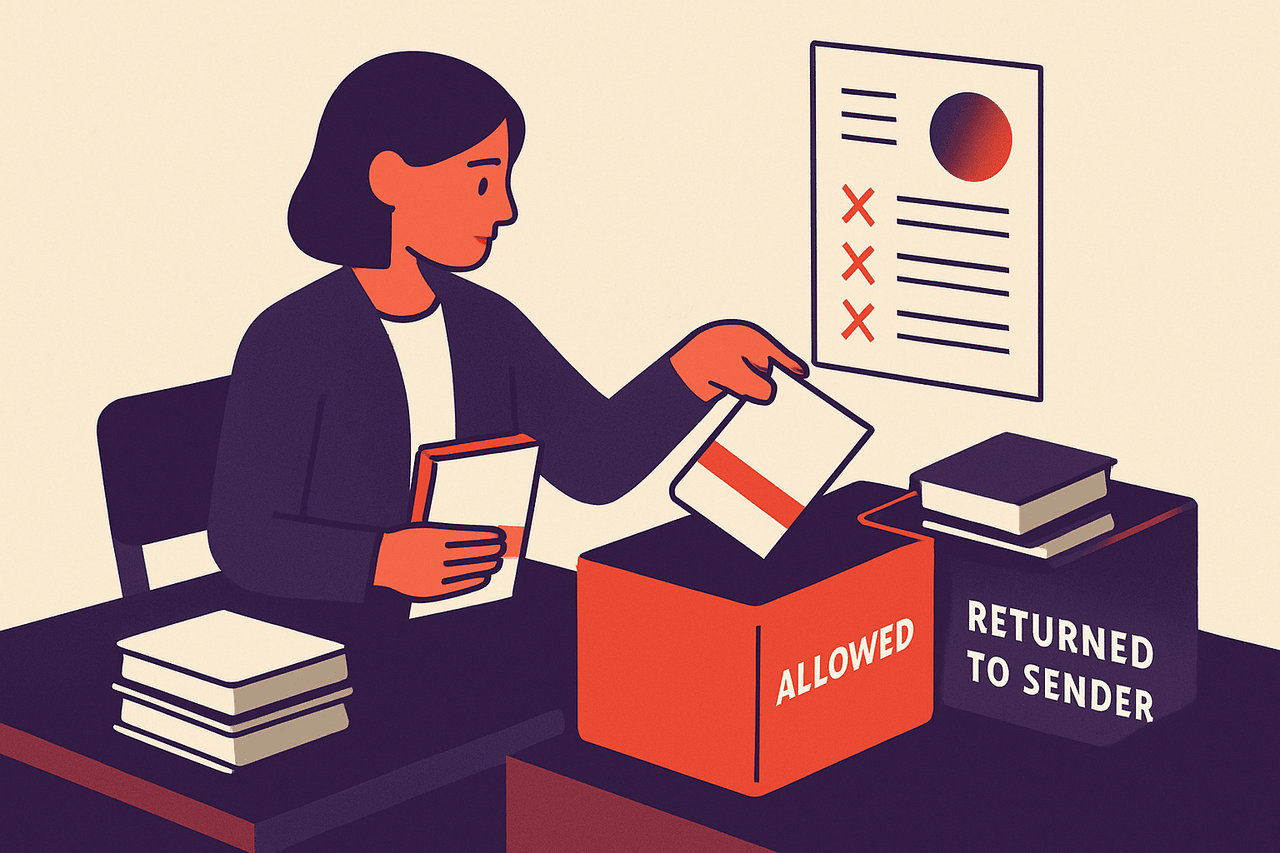
Set Up Content Filtering (CFS) on a SonicWall
Before you run this
This guide turns on SonicWall's Content Filtering Service (CFS): the firewall inspects outbound HTTP/HTTPS requests, looks the destination category up against SonicWall's cloud database, and blocks or allows the request based on a profile you define. The purpose is category-based web filtering for a specific zone (typically your LAN).
This is all done in the SonicOS management interface, so you need an administrator account on the firewall — a full admin, not a read-only or limited operator login. There is no bash or PowerShell here; the "script" is SonicWall's own GUI procedure. A CLI exists, but CFS is configured through the web UI in normal practice, so that is what I use below.
CFS changes how production traffic is allowed to leave your network. A profile that is too aggressive will block legitimate work; a profile applied to the wrong zone can block the wrong people. Treat this as a production change:
- Keep a separate management path open. Have console or out-of-band access to the appliance while you work. A filtering change won't usually lock you out of management the way a bad access rule can, but the discipline matters — do not make this your only session.
- Back up the running config first. In SonicOS 7, go to DEVICE | Settings > Firmware and Settings and create a local backup (and export a settings file to your workstation). This is your rollback.
- Do it in a maintenance window, and test the profile against a single test category or a lab zone before you enforce it on your whole LAN. Watch the logs for a few minutes before you walk away.
- Rollback path: if the profile misbehaves, disable enforcement on the zone (reverse of the last step), or restore the settings backup from DEVICE | Settings > Firmware and Settings. Restoring settings reboots the appliance, so plan for that.
Nothing here permanently deletes data — CFS objects and enforcement toggles are fully reversible — but a wrong profile in force is a live outage for web browsing, so treat it with that respect.
What I'm assuming
- SonicOS 7.0 / 7.1 on a TZ- or NSa-series appliance. Menu labels and the layout of the OBJECT tab moved between SonicOS 6.5 and 7, so if your unit is on 6.5 the concepts hold but the paths differ.
- You have an active CFS or CFS Premium license. Without it you get only the basic rating service. Confirm licensing under DEVICE | Settings > Licenses (or on the HOME dashboard) before you start — an expired CFS subscription is the single most common reason filtering "doesn't work."
- You want to filter one zone (the LAN) and leave others alone.
Step 1 — Confirm the license and service
Check DEVICE | Settings > Licenses. You want Content Filtering (or Content Filtering Premium) showing as licensed and not expired. If it is not licensed, stop here — the rest of this will build objects that never take effect.
Step 2 — Build a CFS Profile Object
The profile is the list of categories you allow or block. In SonicOS 7 this lives under OBJECT | Content Filter Objects. On that page you'll find the object types CFS uses: CFS Profile Objects, CFS Action Objects, and URI List Objects.
Create a new CFS Profile Object:
- Give it a clear name, e.g.
LAN-Standard-Filter. - Set the Allowed / Forbidden operation model — the profile lets you mark categories as blocked or allowed.
- Work down the category list and mark the categories you want to block (for a typical corporate policy: Pornography, Gambling, Malware, Phishing/Fraud, Proxy/Anonymizer). Leave the rest allowed.
- If you want exceptions, that's what URI List Objects are for — build an allow-list or block-list of specific URLs and reference it in the profile.
I won't guess the exact numbering of every category checkbox because SonicWall revises the category set periodically. Work from what the UI shows you on your firmware, and cross-check against the SonicOS 7 Administration Guide, section "Content Filtering Service," for the current category definitions.
Step 3 — Set the block action
When CFS blocks a page, it can drop the connection, redirect to a block page, or show a built-in message. This is a CFS Action Object on the same OBJECT | Content Filter Objects page.
Create one (or edit the default), choose the block behaviour, and — if you want users to see a reason rather than a dead connection — enable the block page and set your text. Note the action object's name; you attach it to the profile.
Step 4 — Enable CFS as the content filter type
SonicOS needs to know it should use SonicWall CFS as the filtering engine and which profile is the default. This global setting is where you set:
- Content Filter Type = SonicWall CFS
- the default CFS profile (point it at
LAN-Standard-Filter) - the default action object from Step 3
The exact page label for this global setting differs between firmware builds, and I'd rather you find it than paste a wrong path. Look for the Content Filter / Security Services configuration entry in SonicOS 7 (in the OBJECT area near the Content Filter Objects, or under the security-services grouping your build presents). The SonicOS 7 Administration Guide's "Content Filtering Service" chapter names the precise location for your version — use that as the source of truth.
Step 5 — Enforce the profile on the LAN zone
CFS in SonicOS is applied per zone. Editing the zone is what actually puts filtering into force — building the profile alone does nothing until this step.
Open your zone list (in SonicOS 7, zones are under the OBJECT area — Match Objects > Zones, labelled as your build shows), edit the LAN zone, and enable content filtering for that zone, selecting your LAN-Standard-Filter profile. Save.
This is the moment the change goes live for LAN clients. If you are testing, enforce on a lab zone first and confirm behaviour there before touching LAN.
Verify it worked
- From a client in the filtered zone, browse to a site in a category you blocked. You should get your block page or a refused connection, and permitted sites should load normally.
- Check the logs. Under MONITOR open the log / connection view and filter for content-filter events. A blocked request logs as a CFS block with the category and the profile name — that confirms the right profile is in force on the right zone.
- Test HTTPS specifically. Category filtering of HTTPS relies on the SNI/certificate hostname unless you've enabled full DPI-SSL, which is a separate feature. If HTTPS sites in a blocked category still load, that's expected behaviour without DPI-SSL — not a broken CFS config. Don't enable DPI-SSL as part of this change; it's a much larger undertaking with its own certificate rollout.
Undo
CFS is fully reversible:
- To stop filtering immediately: edit the LAN zone and disable content-filtering enforcement. Filtering stops the moment you save — this is the fastest backout.
- To remove it entirely: after disabling zone enforcement, delete the CFS Profile, Action, and URI List objects you created under OBJECT | Content Filter Objects.
- Full rollback: restore the settings backup you took in the safety note from DEVICE | Settings > Firmware and Settings. Remember this reboots the appliance.
Once you're happy with the standard profile, the maintainable next step is a second profile for a different zone or user group — but build and test each one the same way, one zone at a time.
Runs enterprise networks and security for a living, and writes Shore Up to turn two decades of hands-on Linux, Windows and mail-server work into guides you can actually use.
More about the author →Was this article helpful?
Tap a star — no sign-in needed.
Be the first to rate this article.
Related guides

Configure Interface Monitoring and Failover Detection on a SonicWall HA Pair
By default a SonicWall HA pair fails over when the active unit dies outright — power loss, hardware fault, a crash that stops the heartbeat. What it does not do out of the box is fail over when a single data interface loses link or when the upstream next hop goes away but the appliance itself is fine. Interface monitoring closes that gap: you tell the cluster which interfaces matter, and optionally give it an upstream target to probe, so a dead WAN or a pulled LAN cable forces the standby to take over.
Enable and Configure IPS Signatures on a SonicWall (SonicOS 7)
This guide turns on Intrusion Prevention Service (IPS) on a SonicWall firewall running SonicOS 7 and sets what the firewall does when traffic matches a signature: log it (Detect) or drop it (Prevent). The purpose is to catch known exploit and attack traffic passing through the firewall.
Configure Port Forwarding to an Internal Server on a SonicWall
This guide publishes one internal server on one port to the internet through a SonicWall. You will create an address object for the server, pick or create a service (port) object, add an inbound NAT policy that rewrites the destination to the internal host, and add a WAN→LAN access rule that permits the traffic. Both pieces are required: the NAT policy alone forwards nothing without the matching access rule.
Factory Reset and Recover a SonicWall with SafeMode
SafeMode is SonicWall's out-of-band recovery boot. You enter it with the physical reset button, and from a small web page on the appliance you can reboot the current firmware, boot a backup image, upload firmware, export settings, or boot with factory default settings — which wipes the running configuration back to out-of-the-box defaults. This guide covers using SafeMode to factory reset and recover a firewall you're locked out of, or one whose config or firmware is corrupt.